How to replace a broken spring bar on a watch band?
When a Watch Band Detaches: Addressing a Broken Spring Bar
A common reason a watch band separates from the watch case is a broken or bent spring bar. These small metal rods connect the strap or bracelet to the lugs—the protruding arms on either side of the watch case. When a spring bar fails, the band can come loose unexpectedly, making replacement essential for both security and comfort.
What Is a Spring Bar and Why Does It Matter?
A spring bar is a small, spring-loaded rod with ends that compress inward. It fits between the lugs of a watch case, holding the band in place. The tension from the internal spring allows the bar to be inserted and removed, while the ends lock into tiny holes in the lugs to secure the band.
Spring bars are used with most watch bands, including those made from metal, leather, silicone, and the majority of fabric bands—such as those woven from nylon or nylon blends. The design and size of spring bars can vary based on the width of the watch band and the type of attachment used by different manufacturers.
Identifying a Broken or Damaged Spring Bar
Spring bars can break, bend, or lose tension over time. Signs of a faulty spring bar include the band feeling loose, rattling, or detaching from the watch case. Visible damage—such as a bent bar or a missing tip—means a replacement is necessary. Continuing to wear a watch with a compromised spring bar increases the risk of the watch falling and getting damaged.
Essential Tools and Parts for Replacement
Replacing a broken spring bar does not require extensive equipment. The basic tools and parts include:
- Replacement spring bar: Make sure the new spring bar matches the width of the watch band and the diameter of the original.
- Spring bar tool or small flat-head screwdriver: A spring bar tool has a forked end designed to compress the bar, but a small precision screwdriver can work in some cases.
- Soft cloth or pad: To protect the watch and avoid scratches during the procedure.
- Good lighting: A well-lit workspace helps prevent losing small parts.
Step-by-Step Replacement Process
1. Remove the Damaged Spring Bar
Lay the watch face down on a soft cloth to avoid scratching the crystal or case. Locate the lugs on the side where the band has detached or where the spring bar has failed. If the bar is still partially in place, use the forked end of the spring bar tool (or the small screwdriver) to compress one end of the spring bar inward. This action releases the bar from the lug hole, allowing you to slide it out. If the spring bar is broken, carefully remove any fragments from the band and lugs.
2. Select the Correct Replacement
Measure the distance between the inner sides of the lugs to determine the correct spring bar length. Most watches use widths such as 18mm, 20mm, or 22mm, but there are other sizes. The diameter of the spring bar should also match the original for a secure fit. Using an incorrect size may result in poor attachment or damage to the lugs.
| Band Material | Spring Bar Type | Notes |
|---|---|---|
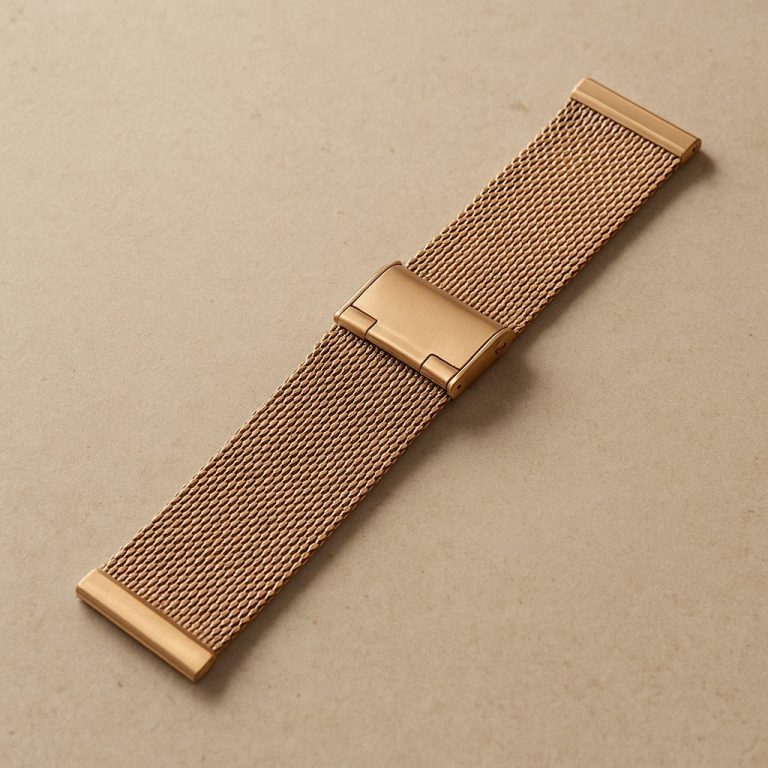
| Metal (e.g., stainless steel bracelet) | Standard or fat spring bar | Stainless steel is most common; ensure bar fits bracelet end link |
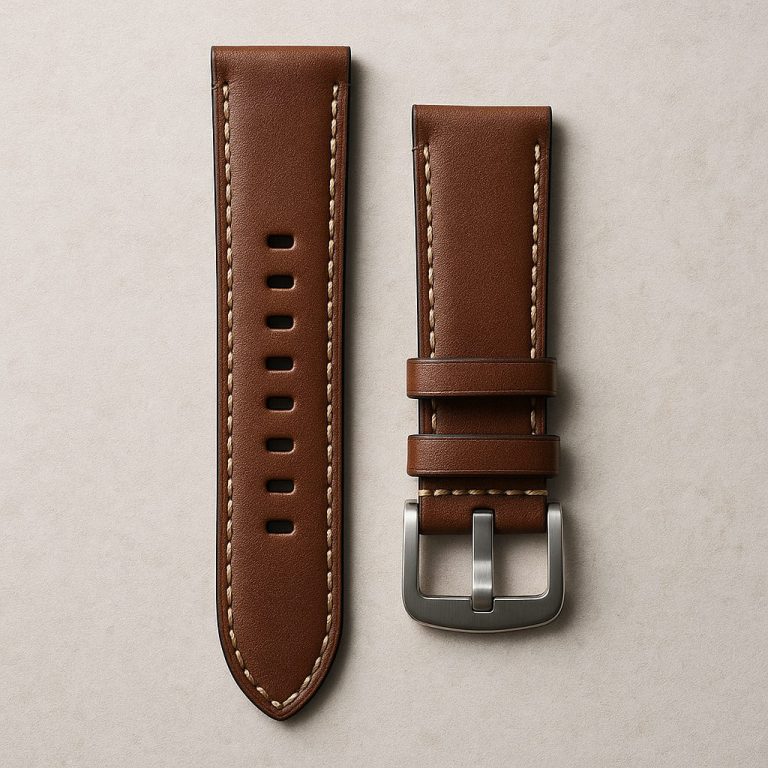
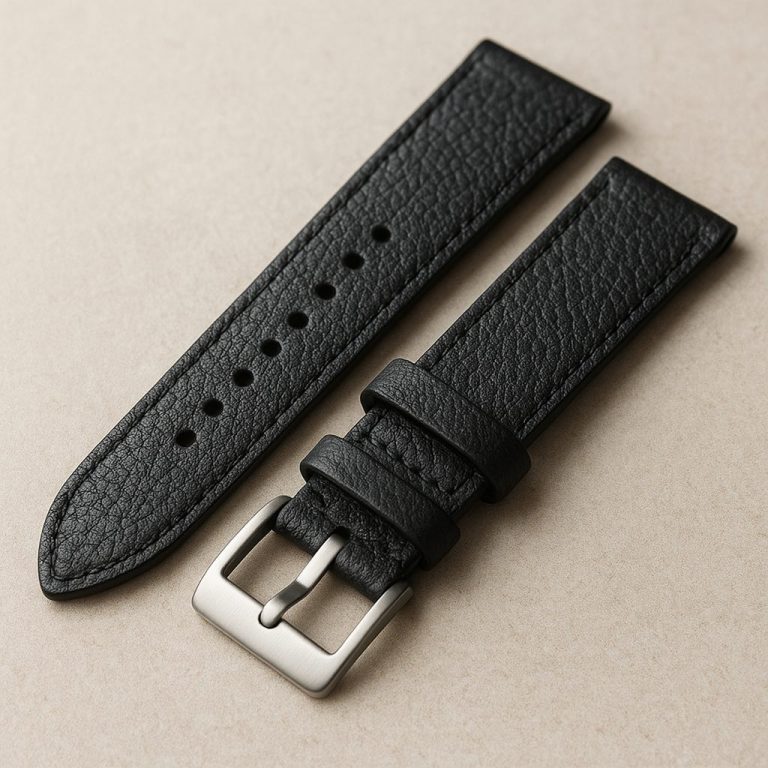
| Leather | Standard spring bar | Fits into pre-punched holes in leather ends |
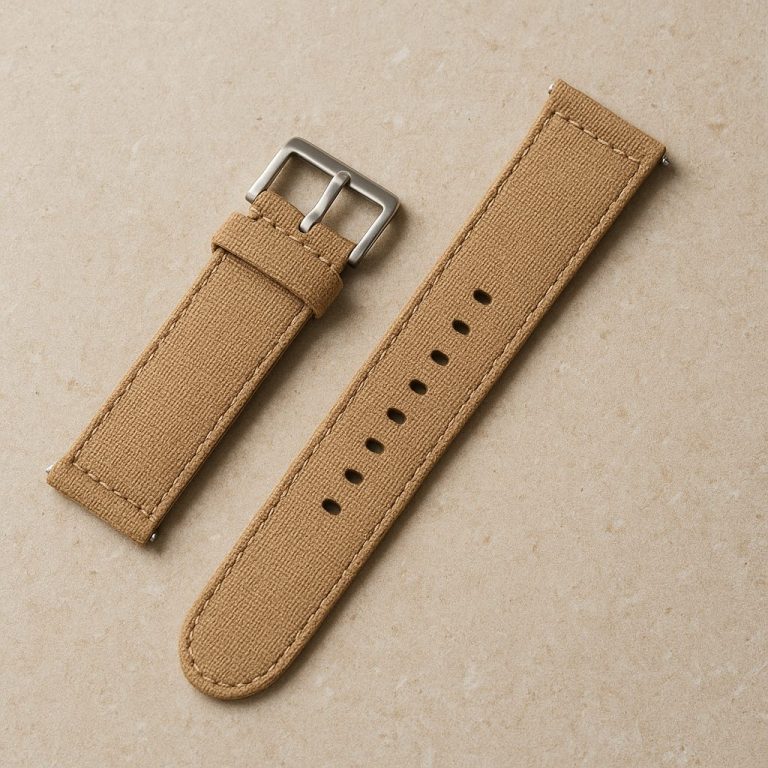
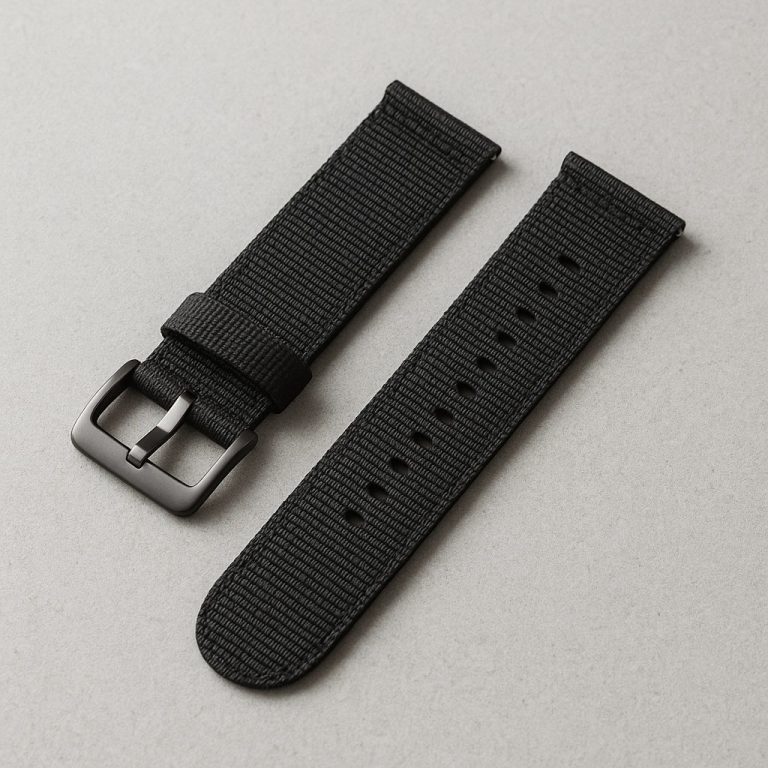
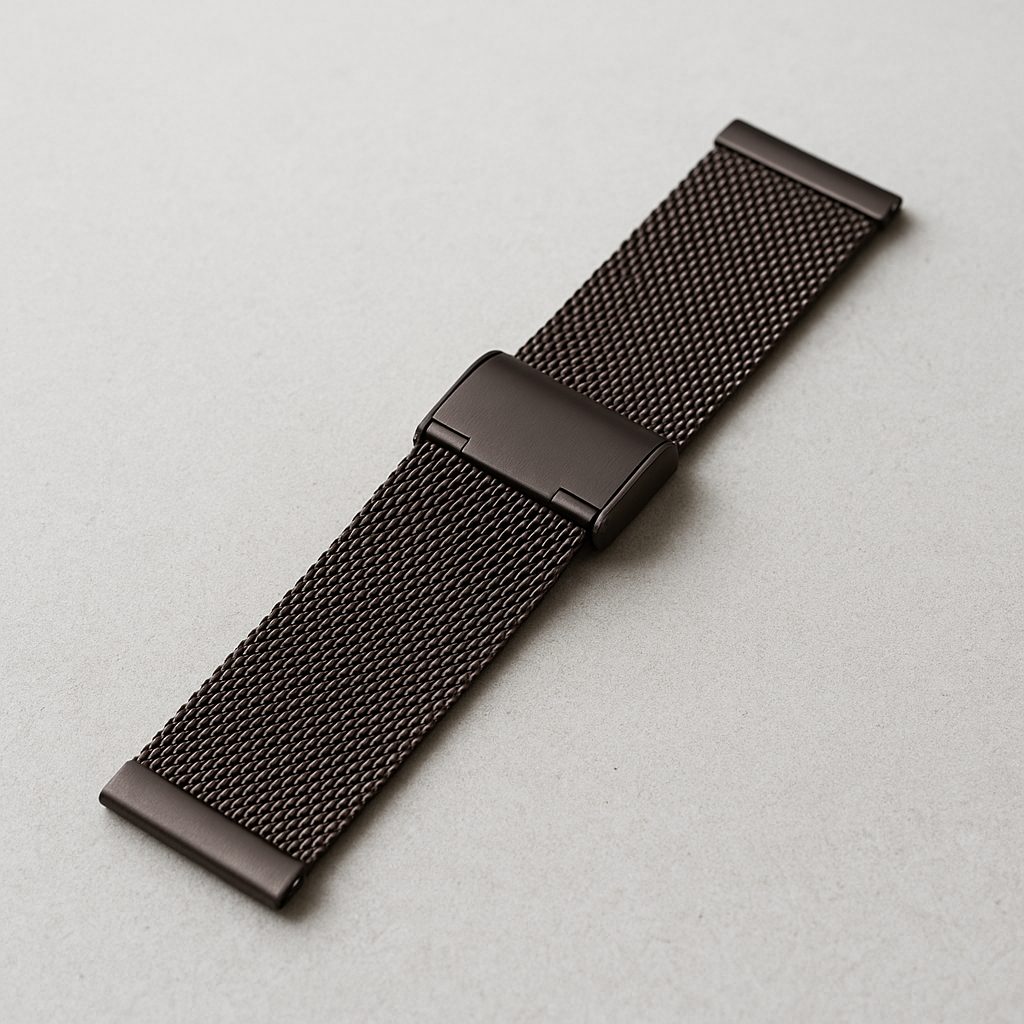
| Fabric (typically nylon blends) | Standard spring bar | Weave density or elasticity can affect band flexibility around lugs |
| Silicone or rubber | Standard or shoulderless spring bar | Some thick silicone bands require shoulderless bars |
3. Attach the New Spring Bar
Insert the new spring bar into the end of the band. For metal bracelets, this usually means placing the bar through the end link. For leather, silicone, or most fabric bands (particularly those made from woven or blended nylon), insert the bar through the holes at the band ends. Ensure the bar is centered and both ends are visible.
4. Install the Band Back onto the Watch
With the spring bar in place, position one end into the hole inside one lug. Use the spring bar tool to compress the opposite end of the bar so that it fits between the lugs. Align the compressed tip with the corresponding lug hole, then gently release the pressure. You may hear or feel a small click as the bar snaps into place. Lightly tug on the band to ensure it is secure and properly seated between both lugs.
Special Considerations for Different Band Materials
Different strap materials may require minor adjustments during spring bar replacement:
- Metal bands: Stainless steel is the most frequently used material for metal bracelets due to its strength and resistance to corrosion. Some metal bracelets have solid end links that require careful alignment with the lugs. Extra care should be taken to avoid scratching the polished surfaces.
- Leather bands: Leather straps are flexible but can wear or stretch at the ends. Take care not to force the spring bar, as this may tear the leather.
- Fabric bands: Most fabric straps use woven or blended nylon, and the weave can range from tight and thick to more elastic or softer textures. Some bands have extra thickness, which can make installing the spring bar a bit tighter. If the band is elastic or has a soft weave, ensure the bar is centered and the fabric isn’t pinched by the lug.
- Silicone bands: Silicone is soft and flexible. Some thicker silicone straps may require spring bars without shoulders, which lack the small step used for standard spring bar tools. In such cases, use steady pressure and patience to seat the bar correctly.
Dealing with Stubborn or Stuck Spring Bars
Occasionally, a spring bar may be jammed or stuck due to corrosion or deformation. In these cases, gently wiggle the bar with the tool while applying light pressure. Avoid using excessive force, as this can damage the lugs or scratch the case. If the bar remains stuck, applying a small amount of penetrating oil (while protecting the rest of the watch) can help loosen it. After removal, clean the lug holes before inserting a new spring bar.
Common Mistakes to Avoid
- Using a spring bar that is too short or too narrow, resulting in a loose or insecure fit.
- Attempting to pry the bar out with a sharp object, which can scratch the case or lugs.
- Forcing the spring bar into place, which can damage the band or the internal spring.
- Neglecting to check both ends of the bar are securely seated in the lug holes.
Practical Advice: Keeping Spring Bars Secure
Regularly inspect spring bars for signs of wear, especially if the watch is worn during physical activities or exposed to moisture. Replacing both spring bars at the same time can help maintain even wear and reduce the chance of one failing unexpectedly. If working with a fabric band made from a thick, dense weave, a touch of gentle pressure and patience makes installation easier. Always use a soft cloth under the watch during repairs to protect the finish from accidental slips.
Reliable Watch Band Security Starts with the Right Spring Bar
A properly installed spring bar ensures the watch band remains attached securely to the case, regardless of the material—be it a stainless steel bracelet, a leather strap, a silicone band, or a woven nylon blend. Following the correct procedure and using the appropriate tools and parts allows for safe, effective replacement, restoring both the function and appearance of the watch.